Uninstall any previous version of VBVoice or RTM on the target machine.
On the main product CD, run the autorun.exe found on the root.
A main installation screen will appear explaining the different products found on the CD and offering hyperlinks to install these products.
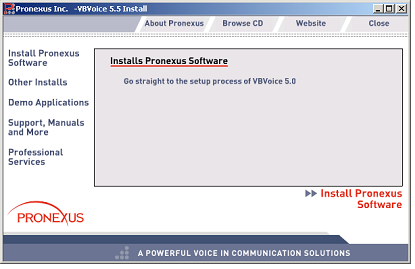
Click Install Pronexus Software and navigate through a number of screens.
At the Select Components screen, select the Pronexus Runtime Manager.
If you are installing VBVoice on this computer, then select other VBVoice components at this time.
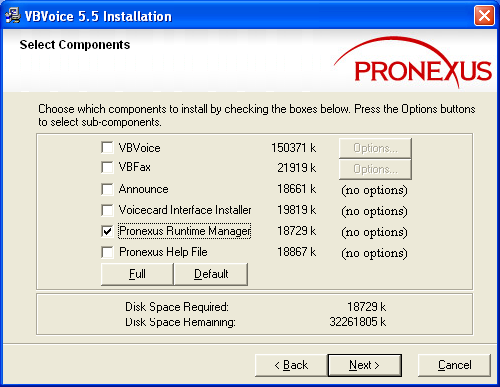
Selecting Components
Screen
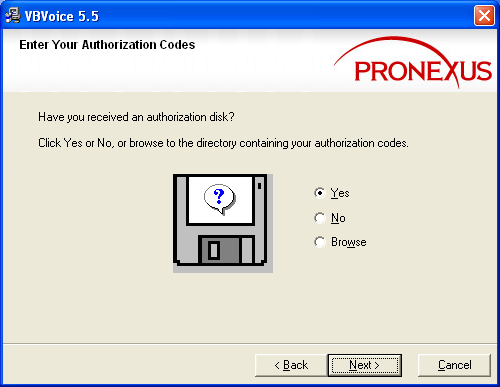
At the Enter Your Authorization Codes screen, enter the authorization information sent to you by Pronexus. There are four ways to enter this information:
|
E-mail (Recommended) |
You should have received an e-mail containing the authorization files (Pronexus.ini and/or PronexusRT.ini). Save the attached file in a directory visible to the RTM machine. Select the Browse option and browse to the directory containing the authorization files. |
|
Diskette |
If the authorization file(s) are on a diskette, choose Yes. |
|
No Codes |
If you select No (and then No on the subsequent Authorization Required screen), the RTM will be installed empty, with no licenses. Licenses can be added later using the RTM Administration screen. |
|
Manually Enter the Codes |
This option allows you to enter authorization codes for the VBVoice Add-on components. Choose the No option and follow the instructions to get to the Add-on Licenses Entry Screen - see below. Then simply copy-and-paste the serial number and the codes received from Pronexus Sales. The Add-on licenses may be added later using the RTM Administration screen. |
Add-On Licenses Entry
Screen
Continue through the remaining screens of the installation wizard.
The final screen has a check box for starting the RTM immediately after the install. Windows 2000/XP users should select this check box. Windows NT users should leave it unchecked and perform a reboot after the install.
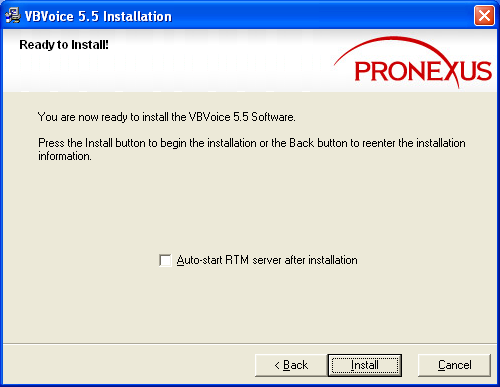
Final Step
When installation is finished and the RTM is running, it will show on the System Tray beside the system clock:

